 Save to Pinterest
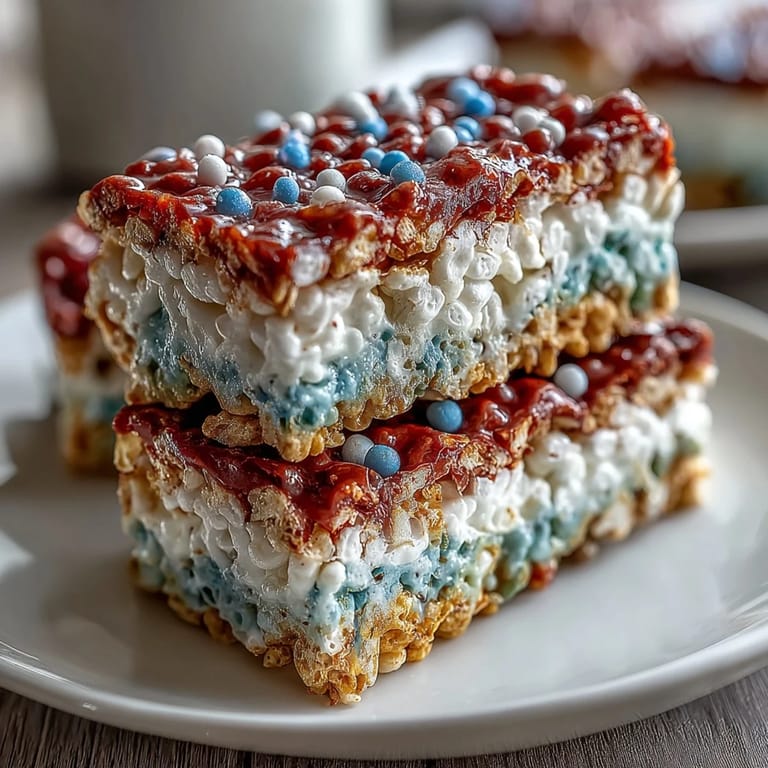
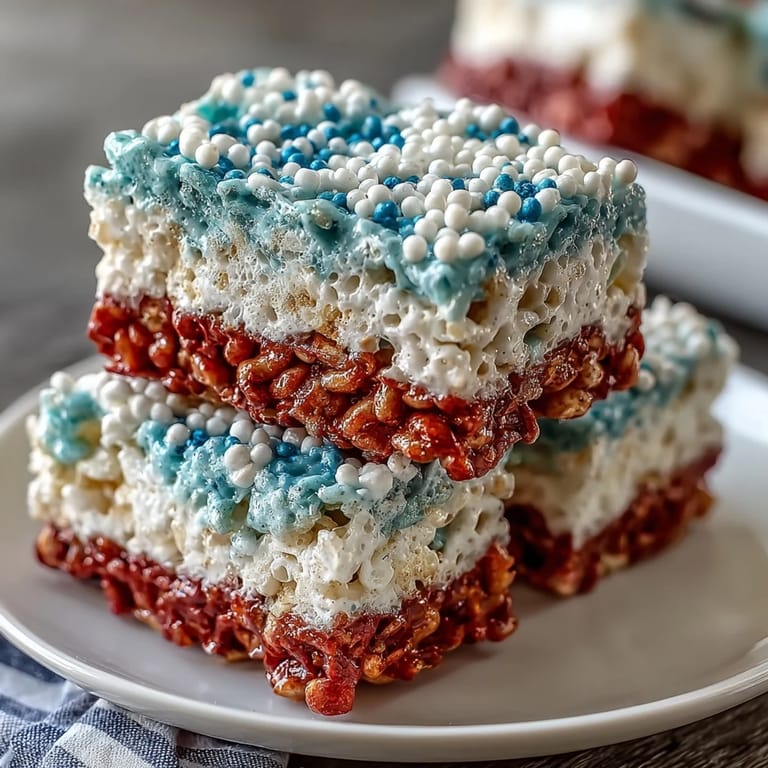
 My neighbor knocked on my door last summer with a pan of the most vibrant layered treats I'd ever seen—red, white, and blue Rice Krispies treats stacked like an edible flag. She'd made them for a block party, and watching people's faces light up when they bit through each color convinced me right then that sometimes the simplest recipes make the biggest impression. Since that afternoon, I've made these for every Fourth of July gathering, and they've become my go-to when I want something that looks impressive but won't keep me stressed in the kitchen.
I'll never forget my daughter insisting on pressing down the blue layer herself, her small hands so careful and concentrated, determined to make them look perfect. That's when I realized this recipe isn't just about feeding people on a holiday—it's about creating a moment where everyone in the kitchen is invested in the outcome.
Ingredients
- Rice Krispies cereal: Six cups total gives you enough to layer without the treats becoming too dense or heavy, and honestly, the quality of the cereal matters more than people think.
- Mini marshmallows: One 10-ounce bag means you'll have enough for three equal portions, and the mini ones melt faster and more evenly than the full-size kind.
- Unsalted butter: Three tablespoons divided into thirds lets you control the flavor in each layer—I learned this the hard way when I over-buttered the blue layer once.
- Vanilla extract: Just half a teaspoon goes into the white layer, giving it a subtle flavor that sets it apart from the others.
- Red and blue gel food coloring: Skip the liquid coloring; I made that mistake and ended up with a gummy, weeping mess instead of chewy treats.
- Red, white, and blue sprinkles: Optional, but they're worth the few extra seconds of sprinkling while the top layer is still warm.
Tired of Takeout? 🥡
Get 10 meals you can make faster than delivery arrives. Seriously.
One email. No spam. Unsubscribe anytime.
Instructions
- Prepare Your Pan:
- Line a 9x9-inch baking pan with parchment paper and give it a light coating of cooking spray or butter so nothing sticks. This step takes thirty seconds but saves you an absolute headache later when you're trying to lift out the finished treats.
- Divide Everything Into Three:
- Split your marshmallows, butter, and cereal into three equal portions before you start heating anything. I learned to do this the hard way after getting confused mid-layer and having to eyeball amounts when my hands were sticky.
- Make the Red Layer:
- Melt your first tablespoon of butter in the saucepan over low heat, then add one-third of the marshmallows, stirring until they're completely smooth and glossy. Add just a few drops of red gel coloring and keep stirring until you get the shade you want—it deepens slightly as it sets, so don't go too dark.
- Add the Cereal to Red:
- Pour in two cups of Rice Krispies and fold everything together until each piece is coated, which takes about a minute of steady mixing. Then press this mixture firmly and evenly into the bottom of your pan, using either your greased hands or a greased spatula to prevent sticking.
- Build the White Layer:
- Wipe out your saucepan, melt the second tablespoon of butter, and repeat with another third of the marshmallows, this time stirring in the vanilla extract instead of food coloring. Fold in two more cups of cereal and gently press this white layer over the red one, using a light hand so you don't disturb what's underneath.
- Top with the Blue Layer:
- Clean your saucepan one more time, melt the last tablespoon of butter with the final batch of marshmallows, and add blue gel coloring just as you did with the red. Mix in your remaining cereal and press this blue layer carefully over the white, making sure the top is smooth and even.
- Optional Finishing Touch:
- If you're using sprinkles, scatter them over the top while the blue layer is still slightly warm so they stick. Let everything cool completely at room temperature for at least an hour—I know it's hard to wait, but this time makes them set up properly instead of staying gummy.
- Cut and Serve:
- Lift the entire block out using the parchment paper, place it on a cutting board, and slice into sixteen squares with a sharp knife, wiping the blade between cuts if it gets sticky. The treats will hold together beautifully once they've cooled, and you can serve them right away or stack them in an airtight container.
 Save to Pinterest
 One Fourth of July, a friend brought her elderly mother to our barbecue, and watching that woman's face when she bit into one of these treats—the way her eyes got a little misty at the patriotic colors and the familiar, comforting flavor—reminded me that sometimes food is really just an excuse to show people you care about them. Those treats turned out to be the most meaningful thing at the whole gathering.
The Science of Marshmallow Magic
Marshmallows are basically air trapped in gelatin, so when you heat them, that air expands and they puff up before collapsing back down as they cool. Understanding this helped me stop over-stirring, which was my problem for the longest time—I'd be so focused on mixing that I'd deflate all that carefully whipped air and end up with dense, gluey layers instead of light and chewy ones. Now I melt them just until smooth and then move on to the cereal.
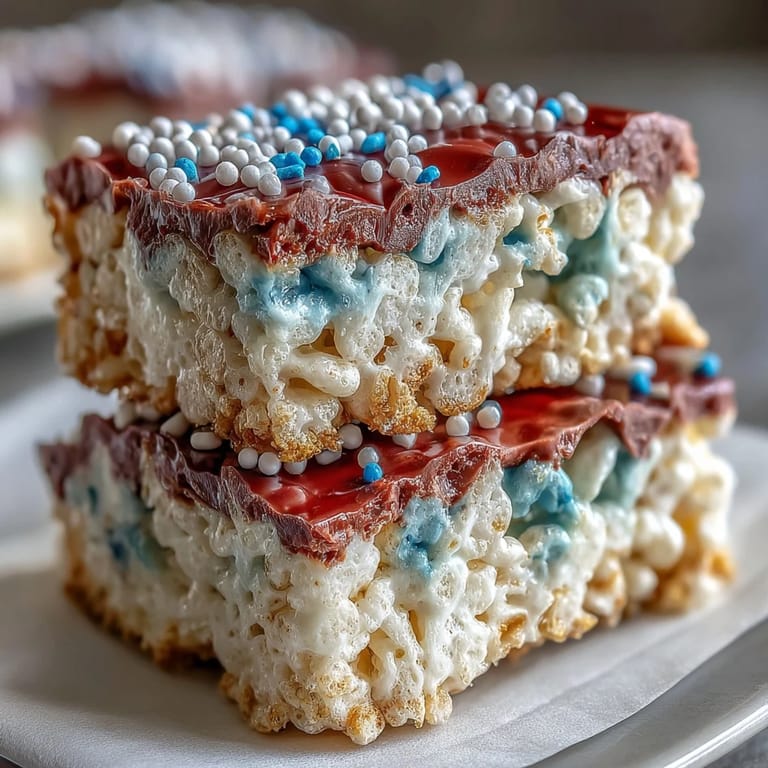
Why Layering Matters More Than You'd Think
The three-layer approach isn't just about looks; it's actually a practical way to manage moisture and prevent mixing while keeping every layer distinct and delicious. When you press each layer gently instead of aggressively, you maintain that delicate structure without smashing everything together. I've learned that patience with layering rewards you with a treat that actually looks impressive when you cut into it, which makes the whole effort feel worthwhile.
Storage and Make-Ahead Tips
These treats stay fresh and chewy for three days in an airtight container at room temperature, which means you can make them the morning of your gathering without any last-minute stress. I've also wrapped individual squares in parchment paper and given them away as gifts, and people genuinely light up when they open the package and see those patriotic colors.
- Keep them in an airtight container or they'll start to harden after a couple of days.
- Bring them to room temperature before unwrapping or the condensation will make them stick together.
- If you're making these ahead for a party, store them in a cool spot away from direct sunlight so the colors stay vibrant.
 Save to Pinterest
 These treats never fail to bring joy to a celebration, and honestly, that's all you really need to know about why they deserve a spot on your Fourth of July table. Make them with people you love, and watch their faces when they bite through those perfect layers.
Recipe Questions & Answers
- → What type of food coloring works best?
Gel food coloring is recommended for vibrant colors without altering the treat’s texture, unlike liquid alternatives.
- → Can I use salted butter instead of unsalted?
Yes, using salted butter can add a subtle savory balance to the sweetness.
- → How do I prevent sticking when layering?
Lightly greasing your hands or spatula helps press down each layer without sticking.
- → What if I don’t have parchment paper?
You can grease the baking pan thoroughly, but parchment makes removing the treats easier.
- → How long should the treats cool?
Allow them to set for at least one hour to firm up properly before cutting.