Save to Pinterest
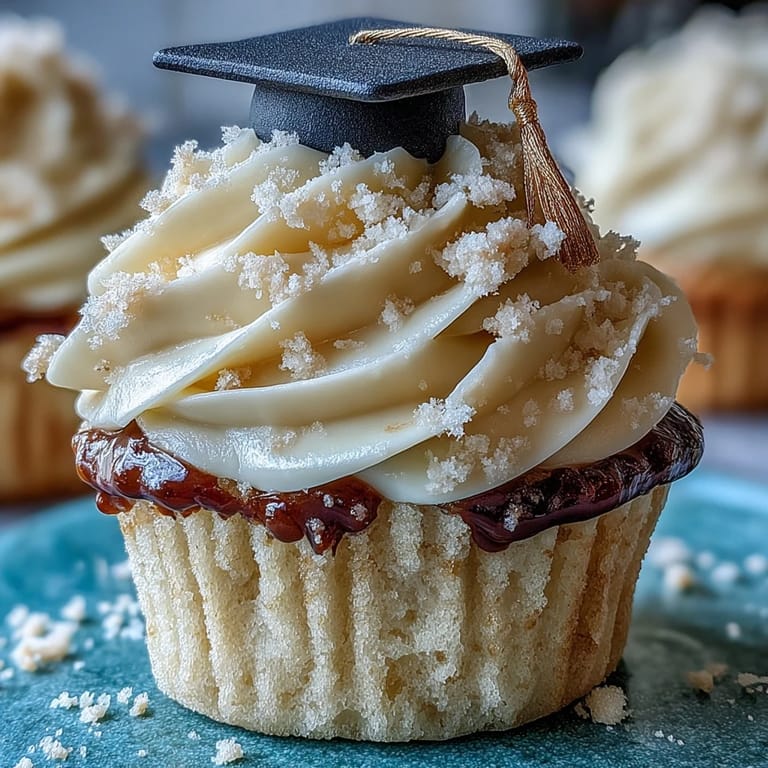
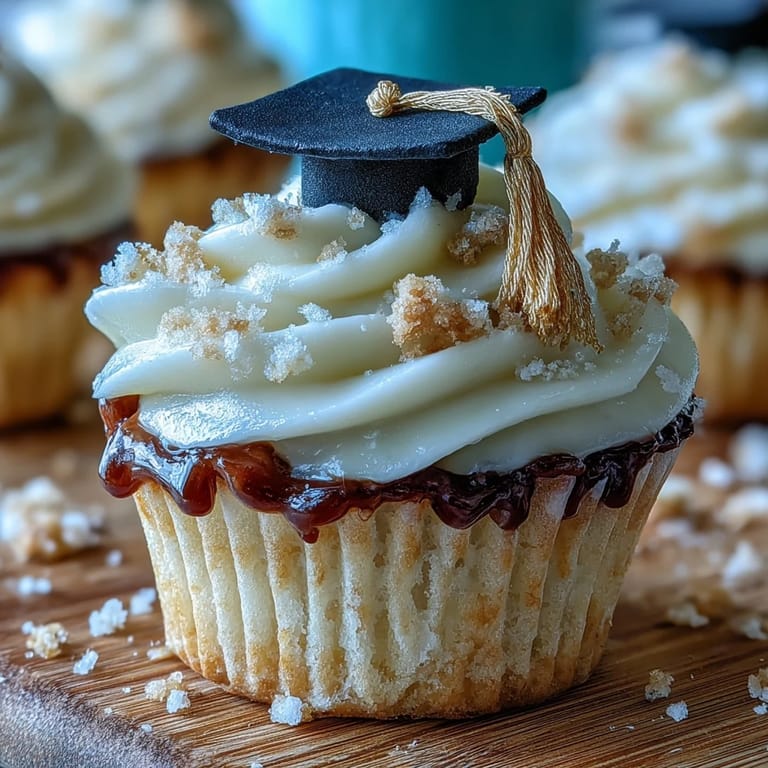
 There are few things that signal a true celebration like the sight of cupcakes decked out in little graduation caps, each one a tiny, edible nod to all the hard work and big dreams floating through the air. The first time I made these Graduation Cupcakes, the kitchen was filled with the sweet scent of vanilla that seemed to hum with anticipation. I remember rolling out the black fondant, delighted by how the edible gold dust shimmered under the afternoon light, while my playlist drifted in the background. There was something almost meditative about shaping those miniature caps and tassels, their details bringing to life memories of past milestones. Every swirl of buttercream seemed to heighten the festive energy before the proud graduates even walked through the door.
I once made a double batch for my cousin’s backyard graduation and ended up with frosting in my hair and gold dust on my elbows, but the laughter that filled the patio that day made every bit of the mess worth it. Everyone gravitated towards the dessert table, admiring the tiny black caps and arguing over which cupcake looked the most 'majestic'.
Ingredients
- All-purpose flour: Gives a soft crumb to the cupcakes and helps them hold their shape—sift for fluffiness.
- Baking powder: A little lift goes a long way for tender, airy cupcakes.
- Salt: Just a hint sharpens all the buttery sweetness—don’t skip it.
- Unsalted butter: Room temperature lets it cream perfectly; it’s the backbone of moist cake and creamy frosting.
- Granulated sugar: Helps achieve that signature golden color and light texture.
- Eggs: These bind everything together—crack them in one at a time for a smoother batter.
- Vanilla extract: Brings a subtle warmth—you’ll notice the depth in each bite.
- Whole milk: Adds moisture; let it sit out to take the chill off.
- Powdered sugar: Fine sifted sugar makes the buttercream a cloud.
- Black fondant: Essential for realistic mini caps; knead until soft before rolling out.
- Gold fondant: The tiniest touches of gold brighten up every cap for an extra festive look.
- Edible gold dust: Optional, but a gentle shimmer makes these cupcakes paparazzi-ready.
- Cornstarch: A dusting keeps fondant from sticking to everything in sight.
- Edible adhesive or water: Just a dab fuses fondant pieces together—it’s kitchen glue in disguise.
Tired of Takeout? 🥡
Get 10 meals you can make faster than delivery arrives. Seriously.
One email. No spam. Unsubscribe anytime.
Instructions
- Prep the oven and liners:
- Heat the oven to 350°F (180°C) and pop cupcake liners into a 12-cup muffin tin. This way, you’re ready as soon as the batter comes together.
- Mix dry ingredients:
- Whisk flour, baking powder, and salt in a medium bowl—the rhythm feels oddly satisfying.
- Cream wet ingredients:
- Beat butter and sugar together until creamy and pale, then blend in eggs one by one followed by vanilla. Your kitchen will smell mouthwatering already.
- Combine and add milk:
- Alternate dry ingredients with milk, mixing just until smooth; don’t overdo it or you’ll lose that tender crumb.
- Bake the cupcakes:
- Spoon the batter evenly into liners and bake for 18–20 minutes, until a toothpick comes out clean and the tops spring back gently.
- Cool and make buttercream:
- Let cupcakes cool fully. Beat butter, powdered sugar, milk, vanilla, and salt together; you’re after a silky, fluffy frosting.
- Roll fondant and cut caps:
- Dust your surface with cornstarch and roll black fondant thin. Cut out 12 neat squares—set aside as the 'hats'.
- Shape bases and attach:
- Roll small black balls and flatten gently. Affix each square with a damp brush or edible adhesive.
- Tassels and gold details:
- Roll gold fondant into thin ropes, nesting a tiny gold ball above each for the button. Dust with gold as you wish for a showy finish.
- Assemble and serve:
- Pipe buttercream onto cupcakes, top with fondant caps, and stand back to admire your edible commencement celebration.
 Save to Pinterest
 I’ll never forget my little niece’s delighted gasp when she spotted her name etched in gold dust on one of the caps—it was a tiny detail but somehow made the celebration feel even more personal. That fleeting moment turned these cupcakes into treasured keepsakes before they were devoured.
Working with Fondant for First-Timers
The first time I wrangled fondant, my hands were as sticky as the kitchen counter, but gentle dustings of cornstarch changed everything. If your fondant seems stiff, warm it in your hands for a minute and it’ll roll out silk-smooth before you know it.
Color-Swapping & Customization Ideas
Swapping out black and gold for school colors instantly personalizes the whole batch—it’s wild how quickly a cupcake can go from generic to heartfelt. Kids love picking their own tassel shades, and double-layered tassels really pop if you want to show off a bit.
Keeping Cupcakes Fresh and Fluffy
If you’re making these a day ahead, tightly seal the cupcakes once cooled but frost and top them just before serving. Buttercream and fondant both keep their texture best at cool room temperature away from sunlight.
- Don’t refrigerate fondant-topped cupcakes or the caps may get sticky.
- If your cupcakes dome too much, trim the tops—they’ll frost more evenly that way.
- Brush off extra cornstarch gently for a clean final look.
 Save to Pinterest
 I hope these cupcakes bring as much cheer to your graduation table as they have to mine—little edible symbols of hope, hard work, and new chapters. Enjoy every sweet milestone.
Recipe Questions & Answers
- → How do I keep fondant from sticking when rolling?
Lightly dust the work surface and rolling pin with cornstarch or powdered sugar, using just enough to prevent sticking. Lift the fondant frequently and re-dust the surface as needed to avoid overstretching.
- → Can I make the cupcakes ahead of time?
Yes. Bake and cool the cupcakes fully, store in an airtight container at room temperature for up to 24 hours, then frost and decorate just before serving for best texture.
- → What's the best way to get smooth buttercream?
Beat softened butter on medium speed until light, then gradually add sifted powdered sugar and a splash of milk. Continue whipping until smooth and fluffy; chilling briefly can help when piping detailed tops.
- → How can I add extra shine to the gold decorations?
Brush finished gold fondant elements lightly with edible gold dust mixed with a tiny amount of clear food-grade alcohol or lemon extract for a metallic sheen that dries quickly.
- → What are good substitutions for dairy?
Use plant-based butter and a non-dairy milk like oat or soy to make the cupcakes and buttercream vegan-friendly. Check fondant labels, as some contain dairy or animal-derived ingredients.
- → How do I prevent caps from losing shape?
Work with fondant that is slightly firm; avoid over-kneading. Make caps shortly before decorating or let shaped pieces dry on a baking sheet for 15–30 minutes to hold their form during assembly.