 Save to Pinterest
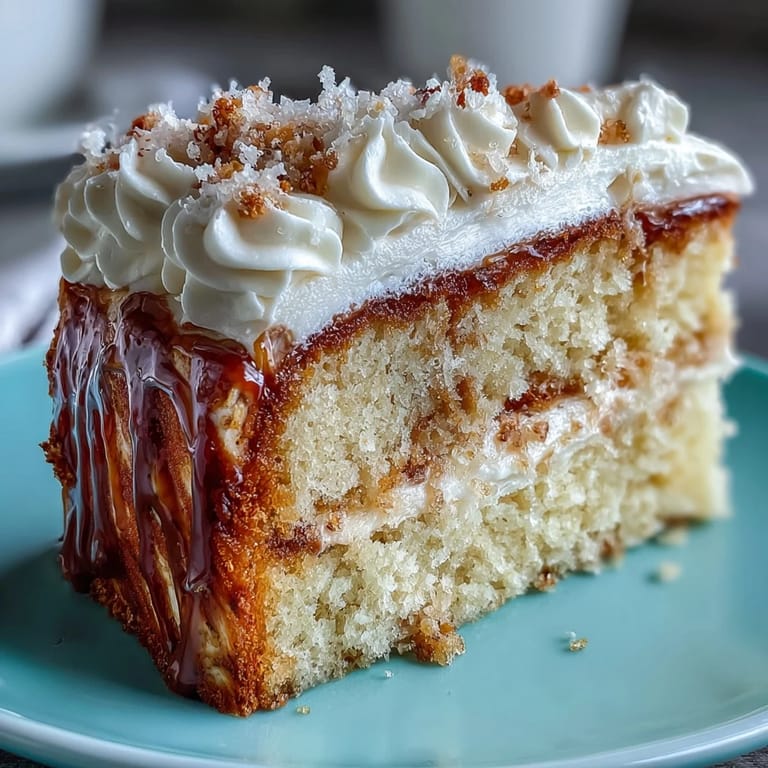
 Slicing into this Gemini Cake for the first time, I remember the hush that fell over the kitchen as everyone stared at the marbled layers, their swirls looking almost too perfect to disturb. The process fills the room with the golden warmth of vanilla and the subtle richness of butter—a comforting background hum as you work. I once caught myself humming along with the mixer, swept up by the rhythm and sweet scents. Every time I swirl the yellow and white batters, it reminds me how small gestures in baking can create something unexpectedly beautiful. If you like your desserts to look as magical as they taste, this cake never disappoints.
Last year, I made this for my sister’s birthday, and we ended up laughing as we argued over who got the biggest piece of the brightest marbled swirl. She insisted it was impossible to slice it so everyone had equal ‘solar flares.’ By the time the cake stand was empty, someone had already asked if I could bake it for their kids’ next star-themed party. That day, even crumbs felt celebratory. Oddly enough, I think it was the sound of all the forks scraping plates that stuck with me the most.
Ingredients
- All-purpose flour: Opt for a higher-quality flour to help your crumb stay light—don’t skip sifting if you want those marbled slices to look perfect.
- Baking powder: Helps each layer rise evenly, so make sure yours is fresh (trust me, I’ve regretted grabbing an old canister).
- Salt: Balances the sweetness, and just a small pinch sharpens all the buttery notes.
- Unsalted butter: Using room-temperature butter is key for a smooth, fluffy batter—you’ll see and taste the difference if you rush it.
- Granulated sugar: Creaming this well with the butter is where the magic starts; don’t shortcut this step for soft, airy cake.
- Eggs: They bring everything together and give the cake its tender structure—always crack them into a separate bowl just in case.
- Vanilla extract: Go for a real, aromatic vanilla for fragrance that sits perfectly with both yellow and white layers.
- Whole milk: Adds moisture and richness, and room-temperature milk helps prevent the batter from curdling.
- Instant vanilla pudding powder (optional): This one’s a secret weapon—when I remember to use it, the cake turns out incredibly plush and moist.
- Yellow gel food coloring: Start with just a dab and add more for a sunrise yellow—gels give a richer color without thinning your batter.
- Powdered sugar: Sift this for smooth frosting that spreads like a dream.
- More unsalted butter: For frosting, you want it super soft; 15 minutes on the counter usually does the trick in my kitchen.
- Vanilla extract (for frosting): Consistency between cake and frosting makes every bite balanced and cohesive.
- Whole milk or heavy cream (for frosting): Adjust this slowly to get that perfect, silky finish.
- Pinch of salt (for frosting): Don’t skip—just a tiny bit makes your frosting taste truly ‘finished’.
Tired of Takeout? 🥡
Get 10 meals you can make faster than delivery arrives. Seriously.
One email. No spam. Unsubscribe anytime.
Instructions
- Prep the pans:
- Grease and line two 9-inch round cake pans with parchment, feeling for even coverage so nothing sticks later.
- Mix the dry ingredients:
- Whisk flour, baking powder, and salt in a bowl until totally blended, and watch for a cloud of flour rising as you go.
- Beat the butter and sugar:
- Cream butter and sugar together until it turns almost white and fluffy—don’t rush, this part gives you a tender crumb.
- Add eggs and vanilla:
- Beat in eggs, one at a time, then pour in vanilla; the mixture should look creamy and smell gloriously sweet.
- Combine wet and dry:
- Alternate adding the dry mix and milk in three rounds, starting and ending with flour; stir just until the batter is smooth—no overmixing.
- Divide and color:
- Spoon the batter evenly into two bowls, then tint one with yellow gel, swirling it gently for even color.
- Marble in pans:
- Using two spoons, alternate dollops of yellow and plain batter into the pans, swirling with a skewer for twinkly, galaxy-like patterns.
- Bake:
- Slide pans into the oven and bake 30–35 minutes, catching that buttery aroma as the tops turn golden and firm.
- Cool and turn out:
- Let cakes rest in their pans for 10 minutes, then tip out onto a rack gently so you don’t break those beautiful patterns.
- Make the frosting:
- Beat softened butter until creamy, then blend in powdered sugar, salt, vanilla, and enough milk for a billowy, spreadable texture.
- Assemble and frost:
- Level the cooled cakes, layer with frosting, and cover the whole cake smoothly; the final result should feel as light as it looks.
- Decorate:
- Add a sprinkle of extra yellow or edible shimmer if you want to echo the cake’s celestial vibe.
 Save to Pinterest
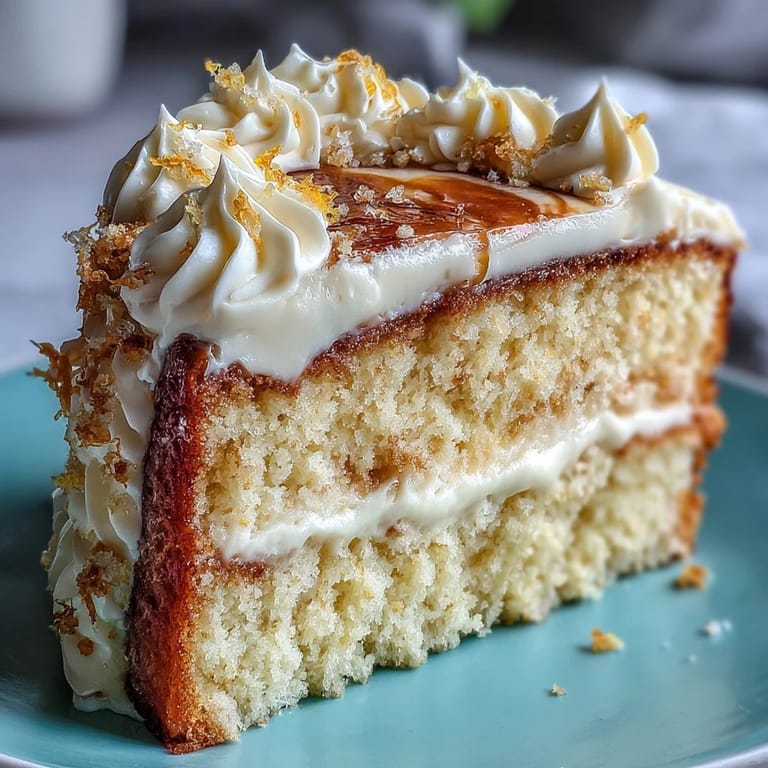
 When I served this for a community brunch, a quiet moment happened as guests paused mid-bite, turning to admire their slices—someone even whispered that it looked like the Milky Way. It struck me how baking can spark little moments of wonder, just from a bit of batter and a swirl.
Choosing Your Best Pans
I’ve learned that heavier metal pans brown cakes more evenly, so if you have the choice, skip glass for this recipe. Also, always line your pans with parchment—removing those marbled layers neatly is worth the extra minute of prep.
Creative Swirl Techniques
Sometimes I use a chopstick instead of a knife to get more intricate marbling, or even draw gentle spirals from the center outwards. If a batter patch feels stubborn, don’t force it; just smooth the top and keep swirling lightly.
Frosting (and Decorating) Without Fuss
I used to dread frosting layer cakes until I realized it’s okay if it looks a little rustic—uneven swoops actually add character, especially if you’re topping with sprinkles or candied lemon slices. Work from the top down, then sweep crumbs from your plate for a neat finish.
- If your frosting feels too stiff, a splash of warm milk loosens it up perfectly.
- Reserve a bit of frosting to touch up any smudges after decorating.
- Don’t forget to chill the finished cake for 15 minutes before serving for the cleanest slices.
 Save to Pinterest
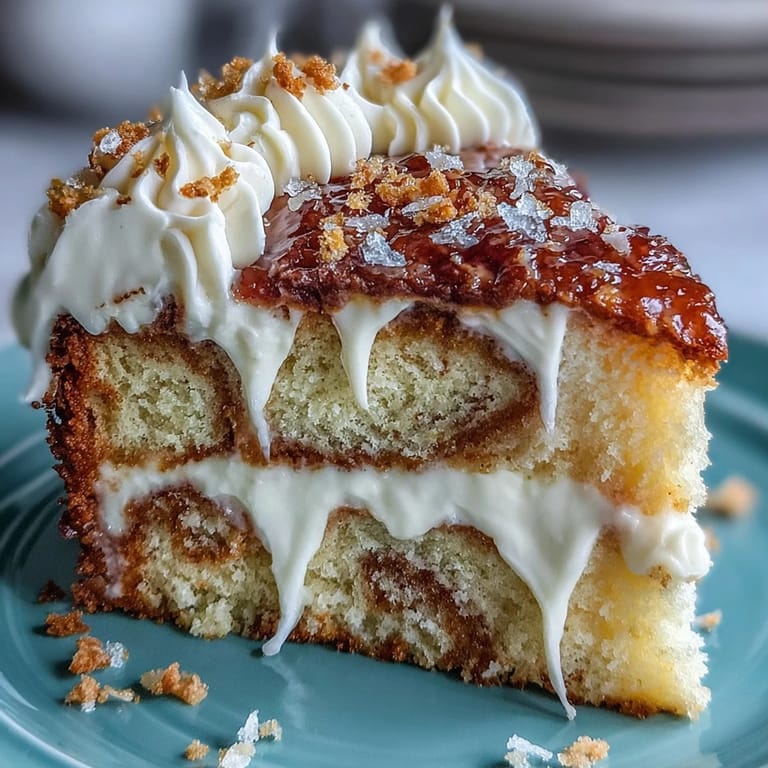
 Baking this cake always reminds me how a little bit of playfulness in the kitchen turns something classic into a centerpiece. I hope your Gemini Cake brings its own bit of stardust to your next occasion.
Recipe Questions & Answers
- → How do I get a clear marbled pattern when assembling the layers?
Dollop alternating spoonfuls of the two batters into the pan and swirl gently with a skewer or knife. Swirl once or twice—over-mixing will blend the batters and lose the contrast.
- → What keeps the sponge moist and tender?
Use room-temperature butter and eggs, cream butter and sugar until light, alternate dry ingredients with milk, and avoid overbaking. Optional instant pudding powder or an extra egg yolk can boost moisture.
- → How much gel coloring should I use for the yellow batter?
Add gel food coloring a little at a time until you reach the desired shade; gels provide vivid color without thinning the batter. A touch of lemon zest also enhances the yellow portion.
- → Can I substitute milk with buttermilk or plant-based milk?
Buttermilk adds tenderness and a slight tang; plant milks work but reduce richness. If switching to a thinner liquid, watch the batter consistency and adjust flour or bake time as needed.
- → What's the best method for a smooth vanilla buttercream finish?
Beat butter until very smooth, add sifted powdered sugar gradually, thin with milk or cream to spreading consistency, apply a thin crumb coat and chill, then finish with a final coat and smooth with an offset spatula.
- → How should the cake be stored and how long will it keep?
Store the frosted cake in an airtight container in the refrigerator for up to 3 days. Bring it to room temperature for 30–60 minutes before serving to restore softness and flavor.