 Save to Pinterest
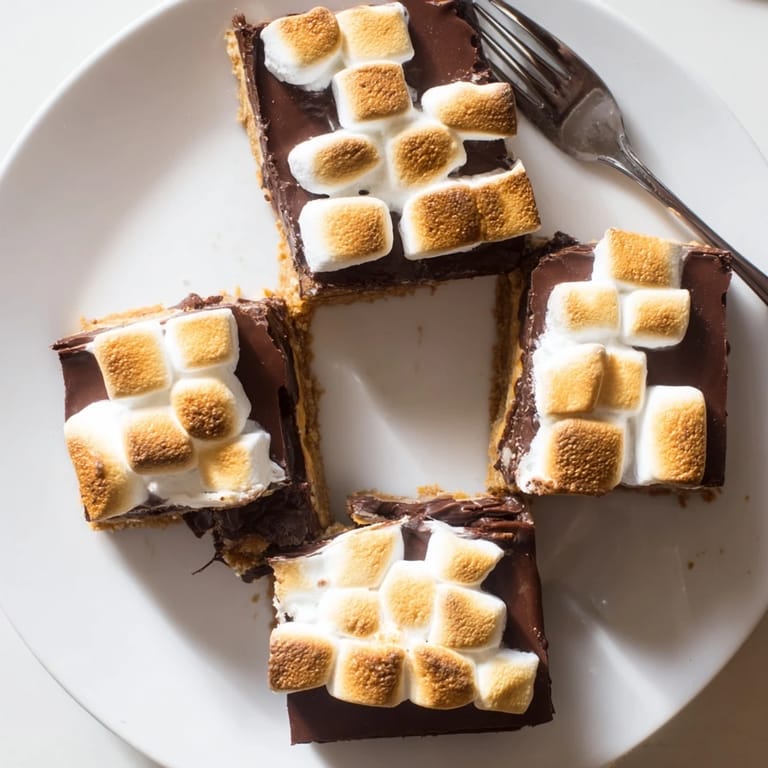
 My college apartment had the world's smallest kitchen, just a counter between a mini-fridge and a hot plate. We couldn't have real campfires, so we improvised everything. Someone brought graham crackers, someone else brought a bag of chocolate chips, and I had marshmallows from hot cocoa mix. We pressed them into a pan and baked the whole mess, not expecting much magic. That first batch was messy and uneven, but when I tasted that warm chocolate-sticky combination, I remembered exactly why summer nights matter.
Last autumn my neighbor texted at 8pm, needing something for her son's school bake sale the next morning. We stood in my kitchen with barely any ingredients, pulling together these bars with whatever we had. The smell of toasting marshmallows filled the apartment, and she kept sneaking tastes 'to make sure they worked.' Her son came back asking for the recipe, and I caught myself making them again three days later just because the craving hit on a rainy Tuesday.
Ingredients
- Graham cracker crumbs: The fine crumbs create a solid base that won't crumble when you slice, and toasting them lightly first adds a deeper, more caramel-like flavor
- Unsalted butter: Melted completely so every crumb gets coated evenly, and this prevents soggy spots in your crust layer
- Granulated sugar: A small amount that helps the crust set up firm and gives a slight crunch against the soft marshmallow topping
- Semi-sweet chocolate chips: These hold their shape enough to create distinct chocolate pockets but melt enough to spread into a cohesive layer
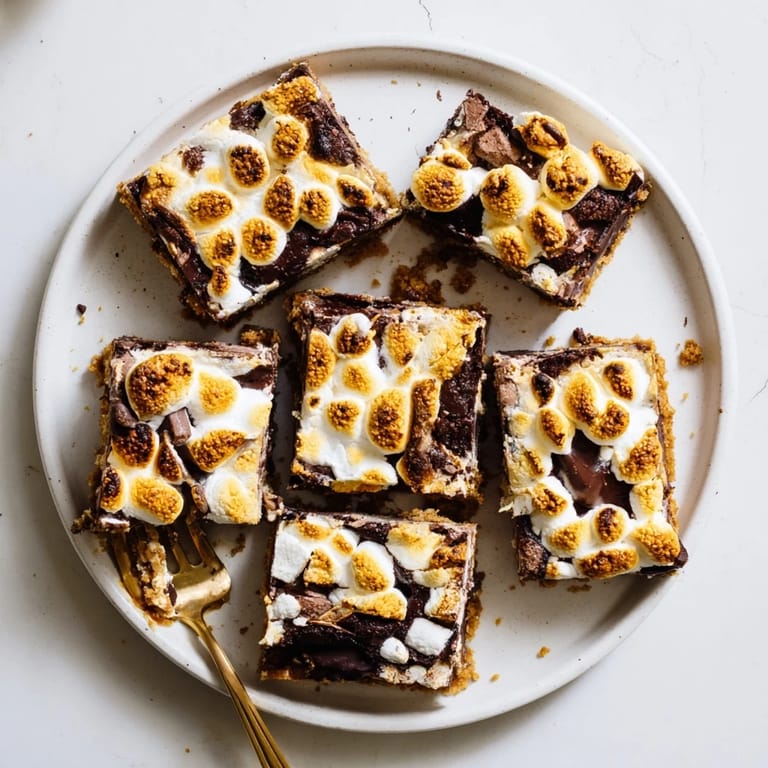
- Mini marshmallows: They toast more evenly than large ones and create that irresistible golden-brown crust on top without burning too quickly
Tired of Takeout? 🥡
Get 10 meals you can make faster than delivery arrives. Seriously.
One email. No spam. Unsubscribe anytime.
Instructions
- Prep your pan and heat the oven:
- Line an 8x8-inch pan with parchment paper, letting the edges hang over slightly like handles, and preheat to 350°F so everything's ready when you are.
- Make the crumb crust:
- Mix the graham cracker crumbs, melted butter, and sugar in a bowl until everything looks like wet sand and no dry spots remain.
- Press and bake the base:
- Firmly press the crumb mixture into an even layer in your prepared pan, using the back of a measuring cup to pack it down tight, then bake for 8 minutes.
- Add the chocolate layer:
- Scatter the chocolate chips evenly over the warm crust and return to the oven for just 2 minutes, watching until the chips soften and look glossy.
- Spread the melted chocolate:
- Use an offset spatula or the back of a spoon to gently spread the softened chocolate into an even layer, being careful not to disturb the crust underneath.
- Top with marshmallows:
- Scatter the mini marshmallows over the chocolate, pressing them down slightly so they stick, and bake for 10 to 12 minutes until they're puffed and golden.
- Cool completely before slicing:
- Let the bars cool completely in the pan, then refrigerate for at least an hour to firm up before lifting them out using the parchment paper handles.
 Save to Pinterest
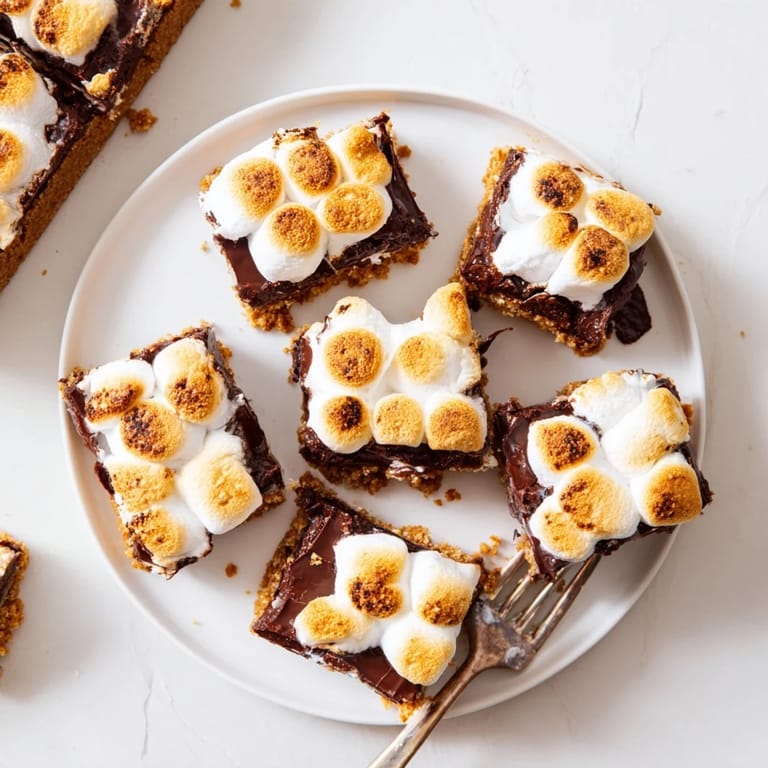
 These bars showed up at every potluck for two solid years after I shared the recipe with my book club. People started texting me specifically when they needed a crowd-pleaser, and I kept a mental list of who requested them for birthdays versus who wanted them for picnics. My cousin made them for her wedding dessert table, and I cried a little seeing them arranged all pretty next to the fancy cake.
Getting the Most Gooey Texture
The marshmallow layer keeps these bars soft, but the chocolate firms up in the fridge, so serving them slightly warm gives you that perfect campfire texture. I like to let them sit at room temperature for about 20 minutes after chilling, or pop individual squares in the microwave for 10 seconds. The contrast between the slightly crisp crust and the soft toppings is what makes people reach for seconds.
Making Them Your Own
Sometimes I press a handful of crushed graham crackers into the chocolate before adding the marshmallows for extra crunch in the middle. A pinch of sea salt over the chocolate layer cuts through the sweetness and makes these taste more sophisticated than they have any right to be. I've also swapped half the chocolate chips for white chocolate or added a layer of caramel between the crust and chocolate when I want to impress someone.
Storage and Serving Tips
These bars keep well at room temperature for about two days, but the marshmallows start getting sticky after that. I wrap individual squares in parchment paper and store them in an airtight container in the fridge, then let them come to room temperature before serving. They're actually pretty good cold too, like a frozen chocolate-marshmallow treat that reminds me of summer.
- Cut them while slightly chilled for the cleanest edges
- Use a sharp knife wiped clean between cuts
- Serve with napkins because the marshmallow gets everywhere
 Save to Pinterest
 These bars are proof that you don't need a campfire to capture that special summer magic. Sometimes the best traditions are the ones you can make in your own kitchen whenever the craving hits.
Recipe Questions & Answers
- → Can I make these ahead of time?
Yes, prepare these bars up to 2 days in advance. Store in an airtight container at room temperature. For best results when slicing, refrigerate for at least 1 hour before cutting.
- → What's the best way to get clean cuts?
Chill the bars completely in the refrigerator for at least 1 hour before slicing. Use a sharp knife cleaned with warm water between cuts. Lift the entire block out using the parchment paper overhang for easier cutting.
- → Can I use different chocolate?
Absolutely. Semi-sweet chocolate provides classic flavor, but milk chocolate works well for those preferring sweeter bars. Dark chocolate adds sophisticated depth. Chocolate bars chopped into pieces also melt beautifully.
- → Why did my marshmallows burn?
Marshmallows toast quickly, especially in the final minutes of baking. Watch closely during the last 3-5 minutes and pull them out once golden brown. The broiler setting can also work but requires constant attention.
- → Can I freeze these bars?
Yes, freeze individually wrapped bars for up to 3 months. Thaw at room temperature for 30 minutes before serving. The texture remains excellent, though the marshmallow layer may be slightly less fluffy.
- → What can I substitute for graham crackers?
Digestive biscuits, vanilla wafers, or crushed shortbread cookies make excellent alternatives. Adjust sugar slightly depending on the sweetness of your chosen cracker. The buttery texture remains similar across options.