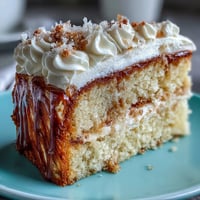
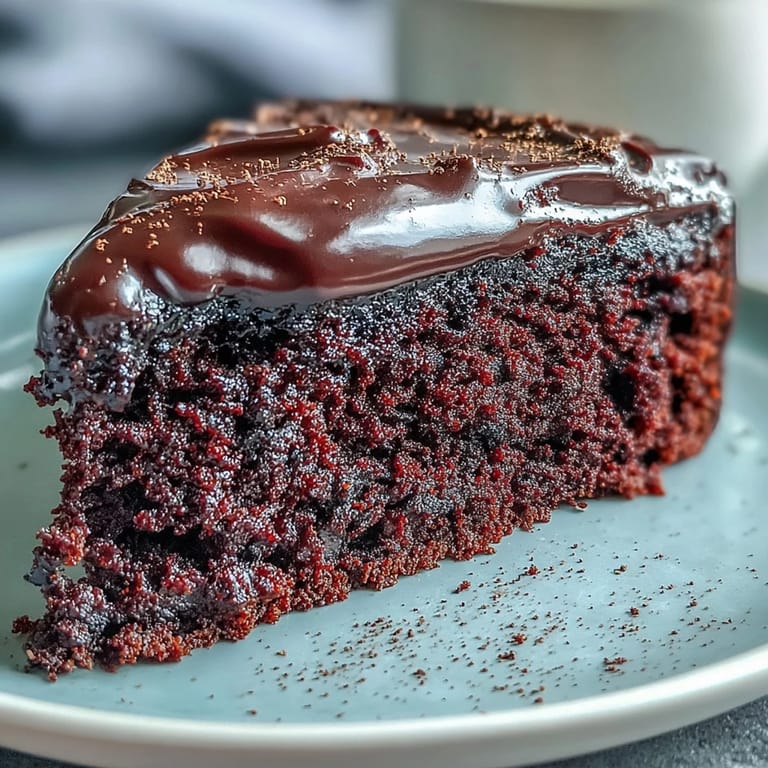
 Save to Pinterest
 My kitchen smelled like a chocolate shop for three days straight after I first baked this cake for my neighbor's birthday. The batter was so glossy and dark I nearly ate it with a spoon before it even hit the oven. When I pulled those layers out, still wobbly in the center, I panicked thinking I'd ruined them. But they firmed up beautifully as they cooled, and the first slice revealed that perfect fudgy crumb I'd been chasing for years.
I remember serving this at a summer garden party where everyone was too full from lunch to want dessert. Then someone cut into it, and suddenly there was a quiet crowd around the cake stand. One friend actually closed her eyes while chewing, which is the highest compliment I've ever witnessed. By the time I turned around to grab my own slice, only crumbs remained on the plate.
Ingredients
- Unsalted butter (200 g plus extra for greasing): Using unsalted lets you control the sweetness and prevents the cake from tasting too rich or salty, plus it makes the crumb incredibly tender.
- Dark chocolate (200 g, minimum 50% cocoa solids), chopped: This is the soul of the cake, so choose a chocolate you'd enjoy eating on its own, the quality shows up in every bite.
- Light brown sugar (250 g): The molasses adds a subtle caramel note that balances the bitterness of the cocoa and keeps the cake moist for days.
- Large eggs (3): They provide structure and lift, whisk them well with the sugar to trap air and create that light crumb despite the richness.
- Plain flour (200 g): All purpose flour gives just enough structure without making the cake heavy or dry.
- Baking powder (1 ½ tsp): This gentle lift keeps the cake from being too dense, but not so much that it loses that fudgy quality.
- Fine sea salt (¼ tsp): A pinch sharpens the chocolate flavor and prevents the sweetness from becoming one dimensional.
- Cocoa powder (50 g): It deepens the chocolate intensity and adds that dark, almost bittersweet edge that makes this cake addictive.
- Whole milk (150 ml): The fat content keeps the batter silky and helps create a tender crumb that melts in your mouth.
- Vanilla extract (1 tsp): Just a splash rounds out the chocolate and adds warmth without stealing the spotlight.
- Dark chocolate for icing (150 g), chopped: Use the same quality as the cake batter, it becomes a glossy, silky blanket over the layers.
- Unsalted butter for icing (100 g): This makes the icing spreadable and gives it a luxurious sheen that looks bakery perfect.
- Icing sugar (200 g), sifted: Sifting is non negotiable here, lumps will ruin the smooth finish you are aiming for.
- Whole milk for icing (3 tbsp): It loosens the icing just enough to spread easily while keeping it thick enough to hold its shape.
Tired of Takeout? 🥡
Get 10 meals you can make faster than delivery arrives. Seriously.
One email. No spam. Unsubscribe anytime.
Instructions
- Preheat and Prepare Your Tins:
- Set your oven to 180°C (160°C fan) or 350°F and grease two 20 cm round cake tins generously, then line the bottoms with baking paper. This step prevents heartbreak when your beautiful cake sticks to the pan.
- Melt the Chocolate and Butter:
- Place the butter and chopped chocolate in a heatproof bowl over a pan of barely simmering water, stirring now and then until glossy and smooth. Let it cool for a few minutes so it does not scramble the eggs later.
- Whisk the Sugar and Eggs:
- In a large bowl, whisk the sugar and eggs together until the mixture turns pale, thick, and leaves a ribbon trail when you lift the whisk. This takes a few minutes but builds the structure of your cake.
- Combine the Chocolate Mixture:
- Stir the slightly cooled chocolate into the egg mixture, followed by the vanilla extract. The batter will look shiny and almost too good to bake.
- Sift the Dry Ingredients:
- In a separate bowl, sift together the flour, baking powder, salt, and cocoa powder. Sifting removes lumps and helps everything blend evenly into the batter.
- Fold and Add the Milk:
- Gently fold the dry ingredients into the wet mixture in three additions, alternating with splashes of milk, until just combined. Overmixing will make the cake tough, so stop as soon as you no longer see streaks of flour.
- Divide and Bake:
- Split the batter evenly between your prepared tins and bake for 30 to 35 minutes, until a skewer comes out with a few moist crumbs clinging to it. The centers should still jiggle slightly when you gently shake the pan.
- Cool the Cakes:
- Let the cakes rest in their tins for 10 minutes to firm up, then turn them out onto a wire rack to cool completely. Icing a warm cake will melt your hard work into a puddle.
- Make the Icing:
- Melt the chocolate and butter together over simmering water, then remove from heat and gradually beat in the sifted icing sugar and milk. Keep stirring until the icing is smooth, glossy, and thick enough to coat the back of a spoon.
- Assemble the Cake:
- Place one cooled layer on your serving plate and spread a third of the icing on top, then add the second layer and cover the top and sides with the remaining icing. Use a palette knife dipped in hot water for a smooth, professional finish.
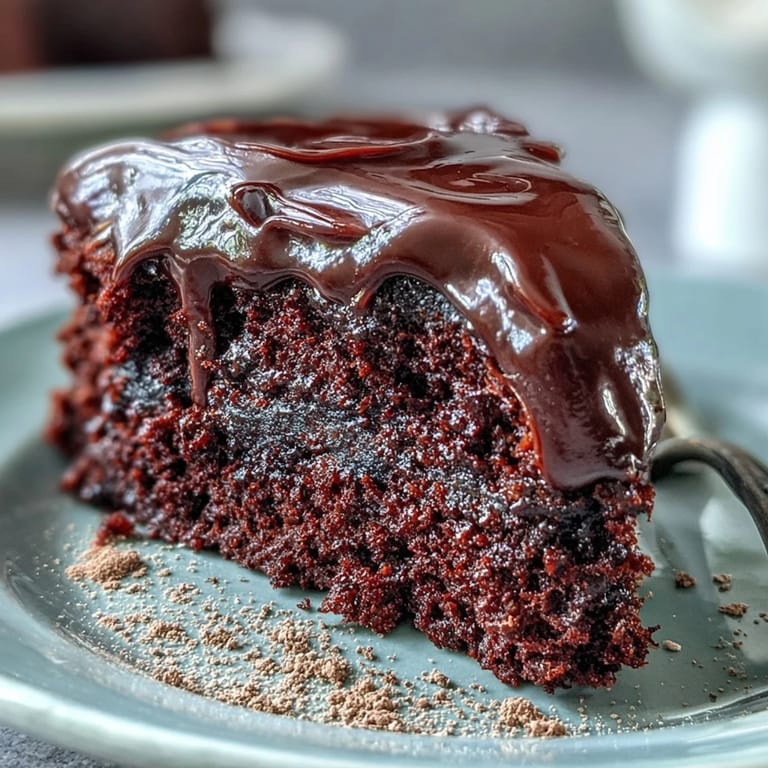
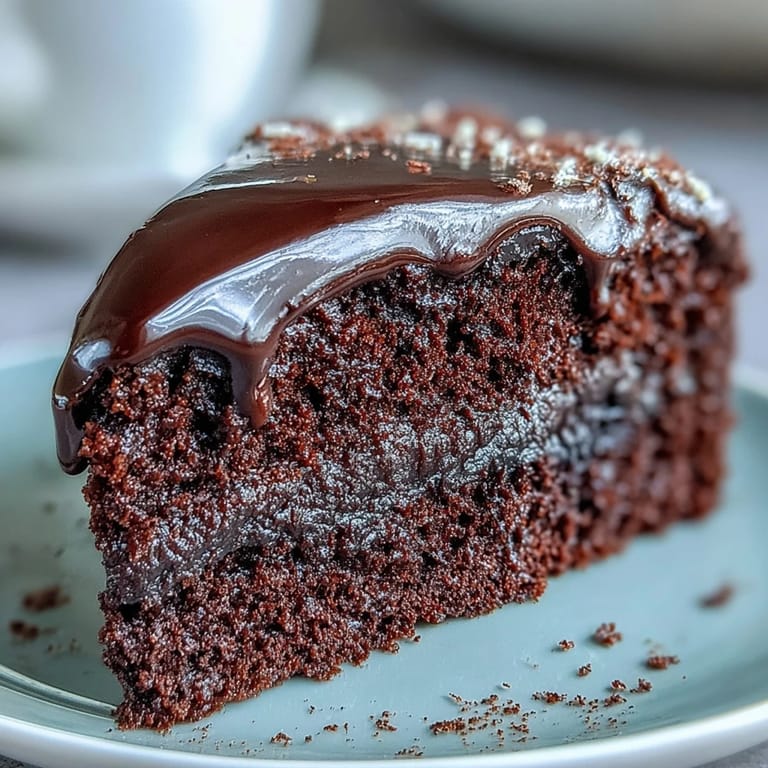
 Save to Pinterest
 This cake became my go to whenever I needed to show up with something that felt like a hug on a plate. I have brought it to baby showers, book clubs, and one memorable rainy Tuesday when a friend needed cheering up. Each time, it does the work of saying things I struggle to put into words.
How to Know When It Is Done
The cake is ready when the edges pull away slightly from the tin and a skewer inserted into the center comes out with a few moist crumbs, not wet batter. The top should look set but still feel soft to a gentle touch. If it springs back immediately, you have gone too far and lost that squidgy center. I once pulled mine out too early in a panic, and it still turned out beautifully because this cake forgives underbaking far more than overbaking.
Storing and Serving
This cake keeps in an airtight container at room temperature for up to three days, and honestly tastes better on day two when the flavors settle and deepen. If you want to make it ahead, bake the layers, wrap them tightly in cling film, and freeze for up to a month, then thaw and ice the day you need it. Serve it at room temperature with a dollop of whipped cream or a handful of fresh raspberries to cut through the richness.
Variations and Little Extras
For an extra layer of flavor, spread a thin layer of raspberry jam between the cake layers before icing, the tartness plays beautifully against the chocolate. You can also add a tablespoon of espresso powder to the batter for a deeper, more complex chocolate flavor without tasting like coffee. Some people like to sprinkle the top with sea salt flakes or crushed honeycomb for texture and a little surprise in every bite.
- Try adding a splash of rum or brandy to the icing for a grown up twist.
- Swap half the plain flour for ground almonds for a denser, more luxurious crumb.
- Top with fresh strawberries or edible flowers if you are feeling fancy.
 Save to Pinterest
 This cake has never let me down, and I hope it becomes one of those recipes you turn to when you want to make someone feel special. Bake it with love, and it will show.
Recipe Questions & Answers
- → Can I use milk chocolate instead of dark chocolate?
Yes, but dark chocolate with at least 50% cocoa solids gives the best depth of flavor and fudgy texture. Milk chocolate will make the cake sweeter and less rich.
- → Why is my cake too dry?
Overbaking is the most common cause. Check the cake at 30 minutes—a skewer should come out with a few moist crumbs, not completely clean. Also ensure you measure ingredients accurately.
- → Can I make this cake in advance?
Absolutely. The cake keeps well in an airtight container for up to 3 days. You can also freeze the unfrosted layers for up to 1 month and ice when needed.
- → How do I get a smooth icing finish?
Make sure the icing is at a spreadable consistency—not too thick or thin. Use a palette knife dipped in hot water, then dried, to smooth the surface in long, even strokes.
- → Can I make this cake gluten-free?
Yes, substitute the plain flour with a gluten-free flour blend in equal amounts. Ensure all other ingredients, especially the chocolate, are certified gluten-free.
- → What can I serve with this cake?
Fresh berries, whipped cream, or vanilla ice cream provide a lovely contrast to the rich chocolate. A dusting of icing sugar or chocolate shavings also makes an elegant finish.